
This was a super fun project my Grades 4- 6 mixed elective class did at the end of this school year. They LOVED this project- some even made 2 or 3. I pretty much followed the excellent instructions posted HERE on the "We Heart Art" blog. She found the idea on the Fine Lines blog.
I was worried we would have to use that chunky yarn (of which I had none) but regular yarn worked well. I collect empty cereal boxes from my students all year long and stockpile them for projects such as these. Students drew some type of abstract pattern on the card. I encouraged them to use shapes as opposed to open lines as we would be colouring these in. Of course some did non-abstract images and some used some open lines and they all worked out regardless :)
Once the lines were drawn, students passed over the lines using regular white glue. Then they put pieces of yarn on top. We let these dry overnight.


It's important to use heavy duty aluminium foil for this next step. It's just sturdier and thicker.

Students cut a piece off the roll that was about an inch larger than their cardboard.

Then they covered the back of the tin foil liberally with a glue stick. They need to use ALOT and do it carefully in one direction so the foil doesn't bunch up and rip. Other blogs used spray glue for this step but I didn't have any- the glue stick worked pretty well.
Then put the foil over-top and, starting from the center, gently rub over the design using a small square of felt. It really works for buffing the foil over the yarn. Take your time with this step- the more you carefully rub around the yarn, the better the final artwork will work. Some students tended to rush this step.

Once it's all glued down, I show students how to neatly wrap the foil onto the back- a technique I used during my book-making phase ;)

Then the fun part: colouring the whole image with coloured Sharpies!
Don't colour the raised yarn part.
Here are Grades 4 - 6 results:


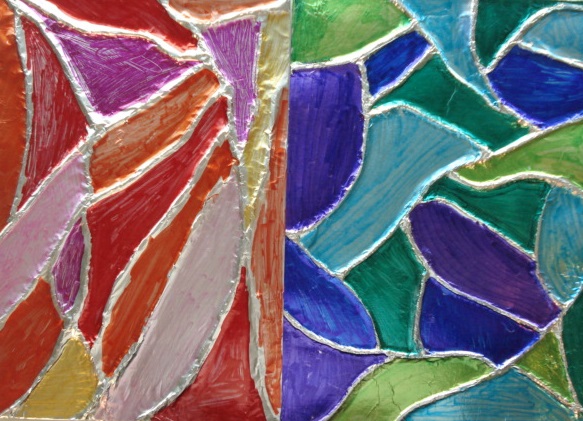 |
| This students did 2: one using cool colours and one using warm colours |

